


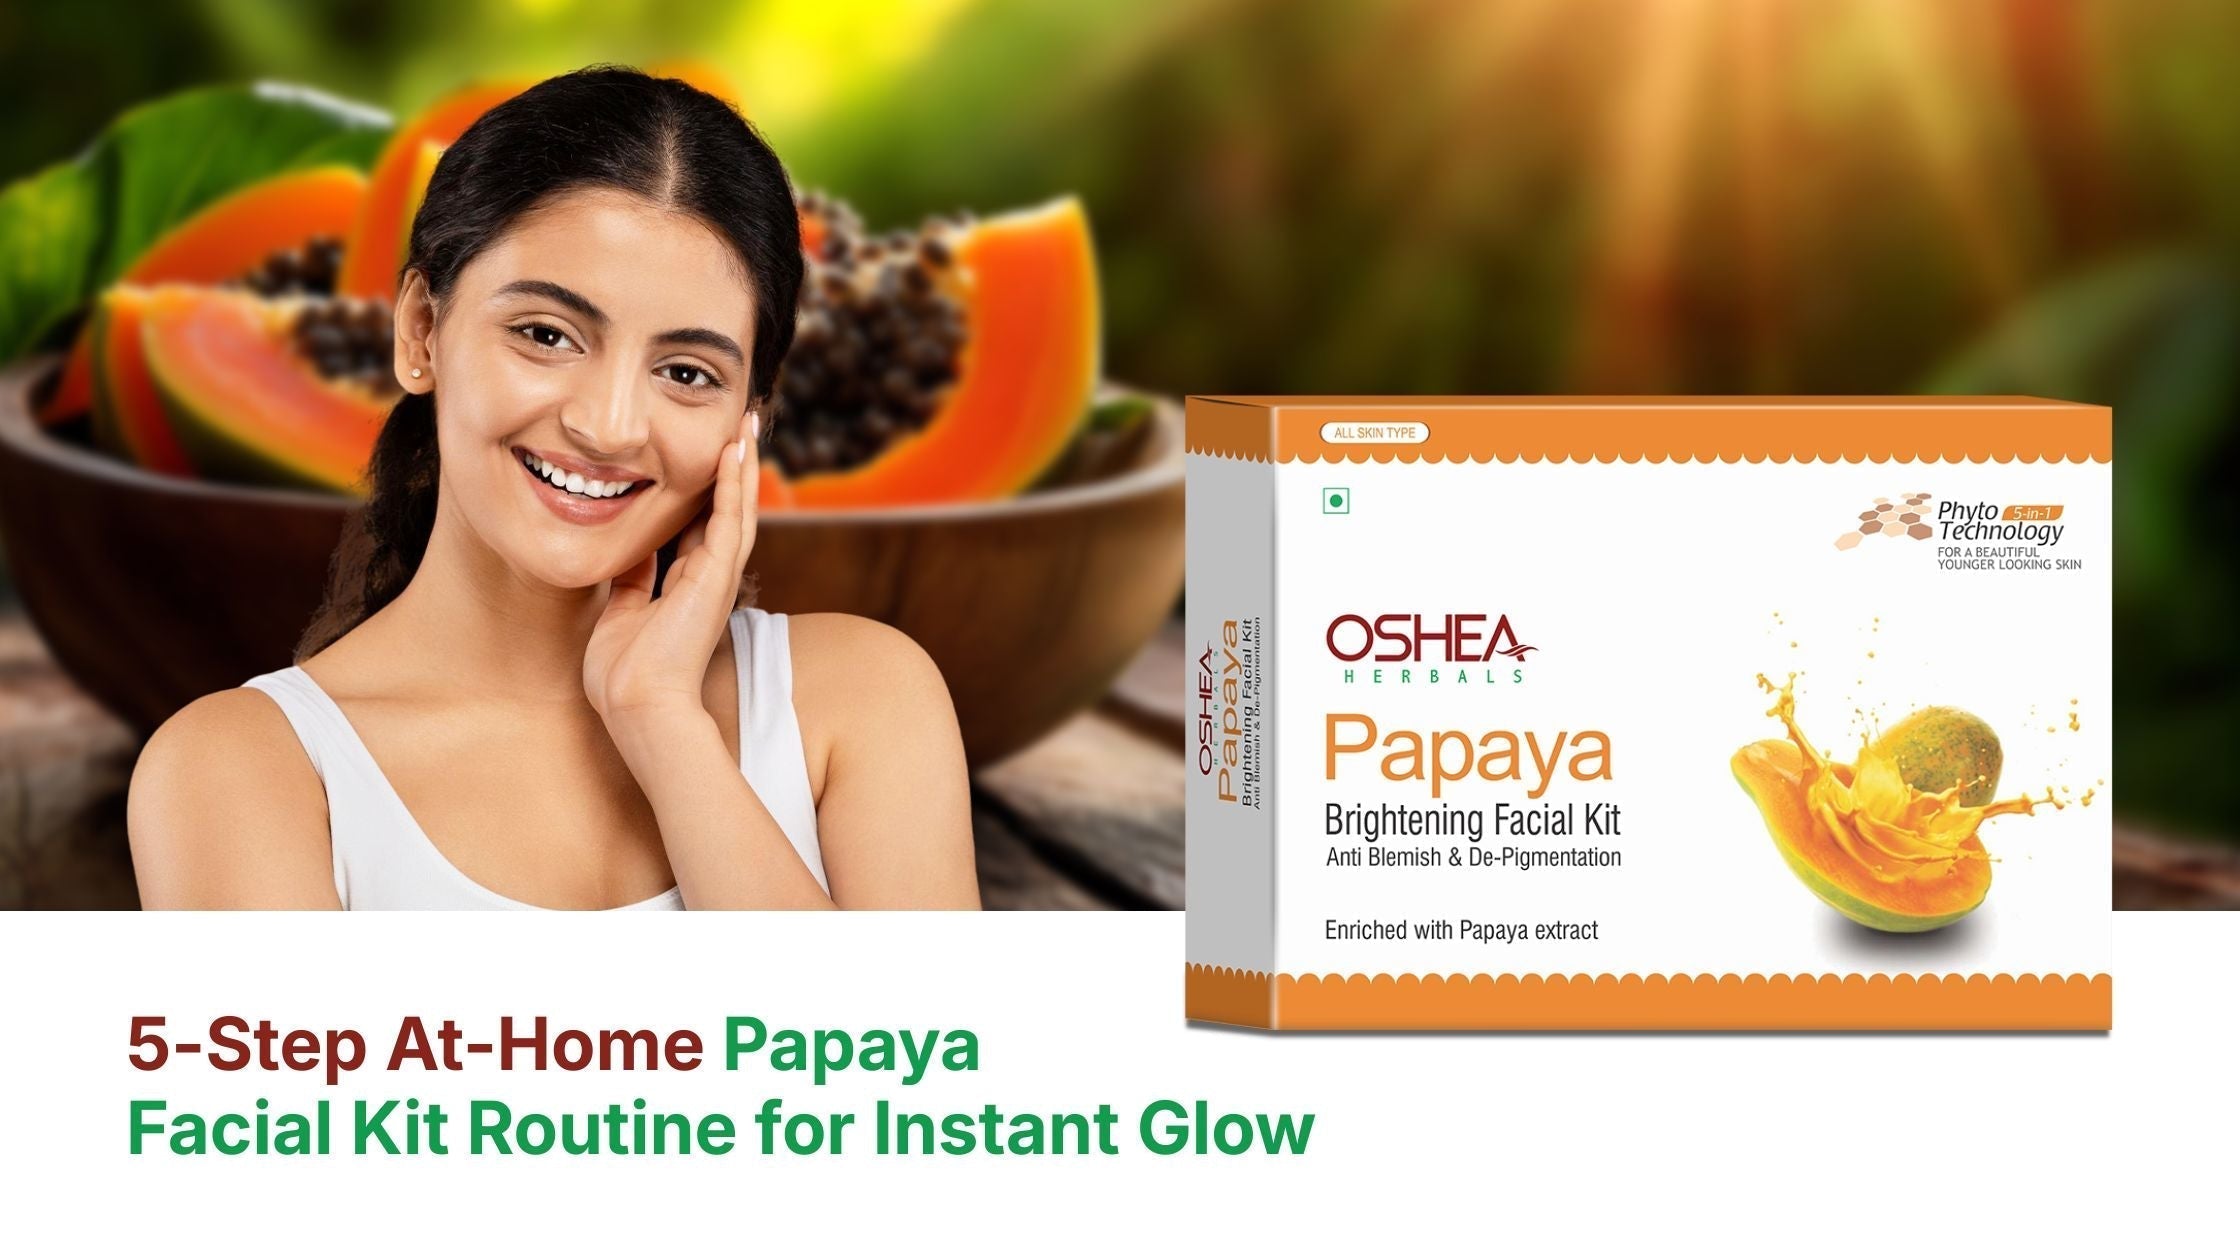
- A complete papaya facial kit contains five steps: cleansing, scrubbing, massage, face pack, and moisturising, each targeting a different skin concern.
- Papain, the enzyme in papaya, digests dead skin proteins enzymatically, revealing brighter skin without the harshness of physical scrubbing.
- The correct order and timing of each step determines how effective the facial is: skipping or rushing steps significantly reduces results.
- Papaya facials address tan removal, blemishes, uneven skin tone, and dullness simultaneously, making them one of the most versatile at-home treatments.
- Freshly exfoliated skin after a facial is more UV-sensitive: always apply SPF before going outdoors for 48 hours after the treatment.
- Consistent bi-weekly facials produce cumulative skin texture and brightness improvements that a single session cannot achieve.
- Why Papaya Is a Powerhouse Ingredient for Skin
- What Is Included in a Papaya Facial Kit?
- How to Prepare for Your At-Home Papaya Facial
- The 5-Step Papaya Facial Routine: Complete Instructions
- The Science Behind Each Step
- Choosing the Right Papaya Facial Kit for Your Skin Type
- Common Mistakes That Reduce Facial Effectiveness
- Aftercare: What to Do in the 48 Hours After Your Facial
- Boosting Your Results: Between-Facial Skincare
- Who Benefits Most from Papaya Facials?
- Related Reading
- Frequently Asked Questions
A salon facial takes two hours, costs several hundred rupees, and leaves you glowing for days. An at-home papaya facial kit gives you 80% of those results in 45 minutes and a fraction of the cost, if you follow the right steps in the right order. The key is understanding that each step in a professional facial serves a specific biological purpose, and replicating that sequence at home is what separates a genuinely effective treatment from just applying a face pack and calling it a facial. Explore the full range at the Oshea Herbals Facial Kit collection and read about our herbal formulation philosophy on the About Us page.
Papaya is particularly well-suited for at-home facials because its primary active compound, papain, is a proteolytic enzyme that works gently on the skin even when applied by a non-professional. Unlike acid-based peels that require precise pH calibration, papain's enzymatic action is self-limiting and does not penetrate beyond the intended target layer of dead, keratinised cells.
Last reviewed: April 2026
1. Why Papaya Is a Powerhouse Ingredient for Skin
Papaya (Carica papaya) contains a remarkable combination of active compounds that address multiple skin concerns simultaneously. Papain is the most celebrated: a cysteine protease enzyme that selectively breaks down the keratin bonds holding dead skin cells together, without damaging living skin cells underneath. This selectivity makes papain significantly safer than many synthetic exfoliants for at-home use.
Beyond papain, papaya contains beta-carotene (a precursor to vitamin A that supports cell renewal), vitamin C (a tyrosinase inhibitor and collagen co-factor), chymopapain (a second proteolytic enzyme with anti-inflammatory properties), and flavonoids with antioxidant activity. The combined effect of these compounds makes papaya effective for tan removal, blemish reduction, brightness enhancement, and gentle resurfacing in a single application.
Papain Fact: Papain has a molecular weight of approximately 21 kilodaltons, making it small enough to penetrate into the upper layers of the stratum corneum where dead cells accumulate. Research published in the National Library of Medicine confirms papain's enzymatic specificity for keratin protein in non-living corneocytes, minimising the irritation risk that accompanies many chemical exfoliants.
2. What Is Included in a Papaya Facial Kit?
A complete papaya facial kit typically contains five or six products designed to be used in sequence. The Oshea Herbals Papaya Facial Kit includes a cleanser, scrub, massage cream, face pack, and a finishing moisturiser or gel, covering all five stages of a professional facial treatment. Some kits also include a serum or toner as an optional additional step.
| Step | Product | Primary Purpose | Time on Skin |
|---|---|---|---|
| 1 | Papaya Cleansing Milk or Gel | Remove makeup, oil, and surface impurities | 1-2 minutes |
| 2 | Papaya Scrub | Enzymatic and physical exfoliation, dead cell removal | 2-3 minutes |
| 3 | Papaya Massage Cream | Stimulate circulation, nourish, lymphatic drainage | 5-7 minutes |
| 4 | Papaya Face Pack | Deep cleansing, brightening, pore tightening | 15-20 minutes |
| 5 | Papaya Gel or Moisturiser | Seal in hydration, soothe post-treatment skin | Leave on |
3. How to Prepare for Your At-Home Papaya Facial
Preparation determines how well each subsequent step works. Begin by tying your hair back and wearing a headband to keep it away from your face. Remove all makeup using a micellar water or oil cleanser before starting the kit routine. Makeup residue on the skin prevents the facial products from penetrating properly and reduces efficacy significantly.
If you have time, expose your face to steam for three to five minutes before beginning. You can do this by draping a towel over your head while leaning over a bowl of hot water. Steam opens the pores, making cleansing and exfoliation more effective and allowing the face pack to penetrate deeper. This step is optional but noticeably improves results.
Collect the following before you begin: all five products from your facial kit, clean towels or cotton wool, a bowl of lukewarm water, and a timer. Lay everything out in order so you do not have to search for items mid-routine, which can interrupt the process and allow products to dry prematurely.
Do a patch test the first time you use any new facial kit. Apply a small amount of the scrub and the face pack to the inner forearm, leave for the recommended time, and wait 24 hours. If no redness, itching, or swelling occurs, proceed with the full facial.
4. The 5-Step Papaya Facial Routine: Complete Instructions
Step 1: Cleanse with Papaya Cleanser
Take a coin-sized amount of the papaya cleansing milk or gel from your kit. Apply it to damp skin in gentle, upward circular motions, working from the neck upward to the forehead. Pay extra attention to areas where product buildup and oil accumulate: the sides of the nose, the chin, and the hairline. After two minutes of massage, remove with a damp cotton wool pad or warm wet cloth. The skin should feel clean but not tight after this step.
This step removes the surface layer of oil, dead cells, and environmental deposits that would otherwise block the penetration of every subsequent product. The Oshea Papayaclean Face Wash can be used as an alternative to the kit cleanser for this step if you prefer a lather-based formula.
Step 2: Exfoliate with Papaya Scrub
With the skin still slightly damp, take a half-teaspoon of the papaya scrub. Apply to the face using light circular motions, working outward from the centre of the face. Spend thirty seconds on each zone: forehead, cheeks, nose, and chin. Avoid the delicate skin directly under and around the eyes. After two to three minutes of gentle exfoliation, rinse off thoroughly with lukewarm water.
The Oshea Papayaclean Scrub combines the enzymatic action of papain with gentle physical exfoliants that dislodge the loosened dead cells. After rinsing, your skin should feel smoother and look slightly brighter immediately, as the top layer of dulling dead cells has been removed. Do not press hard; the enzyme does the work, not the pressure.
Step 3: Massage with Papaya Massage Cream
This step is what separates a genuine facial from a simple masking routine. Take a generous amount of the massage cream and warm it between your palms. Apply to the face and neck in long, sweeping upward strokes. The massage follows a specific sequence: start at the collarbone and neck with upward strokes toward the jawline. Move to the cheeks with outward and upward circular motions. Apply gentle pressure along the jawline from chin to ear. On the forehead, use horizontal strokes from centre outward and upward. Around the eye area, use the ring finger only in a very gentle circular motion along the orbital bone.
Continue the massage for five to seven minutes. The warmth generated by massage increases local blood circulation, bringing oxygen and nutrients to the skin surface. Lymphatic drainage improves with the directional movements, reducing fluid retention. After the massage, remove any excess cream with a warm damp cloth without fully washing.
Get the Complete Papaya Facial Experience at Home
Oshea Herbals Papaya Facial Kit contains all five steps in one complete kit, delivering salon-level brightness from the comfort of your home.
Shop Papaya Facial KitStep 4: Apply the Papaya Face Pack
The face pack is the star of the routine. Apply an even, generous layer of the papaya face pack to the entire face and neck, avoiding the eye area and lips. Use a brush or clean fingertips for application. The pack should be thick enough to be opaque but not so thick that it drips.
Leave the pack on for fifteen to twenty minutes. You will feel it dry and tighten on the skin; this is normal and part of the pore-tightening mechanism. During this time, lie down or sit still to allow the pack to work without cracking from facial movement. After the required time, add a few drops of water to the dried pack to rehydrate it slightly, then remove in gentle circular motions to combine some mild exfoliation with the removal. Rinse thoroughly with lukewarm water and splash with cold water to help close the pores.
The Radiance D-Tan Face Pack from Oshea Herbals can also be incorporated as an alternative in this step for skin that needs additional tan removal alongside brightening.
Step 5: Moisturise and Seal
After patting the skin dry with a clean towel, immediately apply the finishing moisturiser or gel included in your kit. Freshly treated skin is in its most receptive state for ingredient absorption: the surface layer is clear, pores are cleaned, and circulation is active. A good moisturiser at this point seals everything in and prevents trans-epidermal water loss from the newly exposed, more permeable skin cells.
Apply in light upward strokes and allow to absorb fully before applying any makeup or SPF. The Oshea Phytolight Day Cream works well as a post-facial day moisturiser for combination to oily skin, while the Rosemoist Winter Care Cream suits dry or dehydrated post-facial skin.
5. The Science Behind Each Step
Step 1 (cleansing) removes the physical barriers that prevent active ingredients from penetrating. Step 2 (scrubbing) eliminates the outermost layer of dead corneocytes, improving both the immediate appearance of the skin and the penetration efficiency of the products that follow by 30 to 40%, according to a study in the International Journal of Pharmaceutics.
Step 3 (massage) increases cutaneous microcirculation, which brings greater nutrient and oxygen delivery to the dermis. Research published in the National Center for Biotechnology Information confirms that facial massage increases skin temperature and blood perfusion, supporting the transient facial glow visible immediately after.
Step 4 (face pack) delivers a concentrated dose of active compounds to the now-cleansed and circulation-primed skin. The drying action of the pack creates a gentle suction that draws impurities from the pore lining. Step 5 (moisturiser) completes the treatment by rebuilding the lipid barrier that was partially reduced during cleansing and exfoliation.
6. Choosing the Right Papaya Facial Kit for Your Skin Type
Not all facial kits are formulated identically. The Oshea Herbals Papaya Facial Kit is suitable for normal to oily skin with a focus on brightening and blemish reduction. For dry or mature skin, the Gold Facial Kit adds anti-ageing and intensely moisturising benefits alongside the brightening action. For a more comprehensive glow enhancement, the Glowing Facial Kit targets overall radiance for all skin types.
For combination skin, customise your facial by using the papaya scrub only on the T-zone (forehead and nose) and the papaya face pack on the cheeks. This addresses the differing needs of each zone without over-treating the drier cheek areas.
7. Common Mistakes That Reduce Facial Effectiveness
Rushing the Face Pack
Removing the face pack before it fully dries is one of the most common mistakes. The pack needs a minimum of 15 minutes to complete its active ingredient delivery and pore-clearing action. Setting a timer and resting quietly during this time produces significantly better results than multitasking.
Scrubbing Too Hard
Physical pressure during the scrubbing step does not improve results and can cause micro-tears in the skin surface, leading to redness and irritation. The exfoliating action comes from the enzymatic compounds and the gentle friction of the granules, not from aggressive rubbing.
Never do a facial immediately after waxing, threading, or any other hair removal treatment. Newly hair-removed skin has open follicles and is hypersensitive to any active ingredients. Wait at least 48 hours between hair removal and a facial to avoid severe redness and inflammation.
Skipping the Moisturiser
Some people skip the final moisturising step believing the facial itself provides sufficient hydration. Without a sealing moisturiser, the freshly exfoliated skin loses moisture rapidly through trans-epidermal water loss, and the glow from the facial fades much faster than it should.
8. Aftercare: What to Do in the 48 Hours After Your Facial
In the 48 hours following your papaya facial, your skin is more permeable and more sensitive to UV radiation. Apply a broad-spectrum SPF 30 or higher every morning. Avoid heavy makeup for at least 12 hours to allow the skin to breathe and consolidate the improvements. Do not use retinoids, AHAs, or other exfoliating actives for 24 to 48 hours, as the skin barrier has been partially reduced and adding more chemical exfoliation can cause irritation and redness.
Drink additional water after your facial. The increased circulation from the massage and the slightly compromised skin barrier both increase transdermal water loss. Staying well-hydrated supports the skin's recovery and maintains the plump, dewy appearance that the facial creates.
9. Boosting Your Results: Between-Facial Skincare
The glow from a papaya facial lasts longest when supported by a consistent daily routine. Between facials, use the Papayaclean Face Wash as your daily cleanser to maintain the enzymatic brightening effect on an ongoing basis. The Papayaclean Anti-Blemish Serum as a daily leave-on treatment extends the blemish-fading action of the facial beyond the treatment day.
Protect the results with a daily SPF. Every day without sun protection is a day when new pigmentation can form and undo the brightening progress made during the facial. The UVShield Mattifying Gel Cream SPF 45 provides broad-spectrum protection in a texture ideal for oily, post-facial skin.
Once a week between facials, use the Papayaclean Scrub as a standalone exfoliation step to prevent the buildup of dead cells that would otherwise dull the complexion between full facial sessions. Research in the American Academy of Dermatology Journal confirms that regular exfoliation, when not overdone, is one of the most evidence-supported strategies for maintaining skin brightness and texture.
10. Who Benefits Most from Papaya Facials?
- Follow the five steps in order: cleanse, exfoliate, massage, face pack, moisturise. Skipping or rearranging steps significantly reduces effectiveness.
- Papain enzyme is safe for at-home use because it selectively dissolves dead keratin cells without damaging living skin tissue.
- The massage step is not optional: it drives circulation, lymphatic drainage, and ingredient penetration that determines how long your glow lasts.
- Always apply SPF in the 48 hours after your facial to protect the newly exposed, more UV-sensitive skin.
- Consistency produces compounding results: two facials a month, plus a daily brightening routine, produces measurably better outcomes than occasional treatments.
- Do not wax or thread within 48 hours of a facial to avoid combining two skin-sensitising treatments.
11. Related Reading
12. Frequently Asked Questions
How often should I do the papaya facial kit routine?
For most skin types, once every two weeks is the ideal frequency for a full five-step at-home papaya facial. This allows time for the new cell layer to stabilise and for the skin to complete its natural regeneration cycle. For special occasions you can do it once a week for four weeks, but avoid more frequent facials as over-exfoliation can compromise the skin barrier.
Can I do the papaya facial if I have active acne?
Avoid facials with massage steps or steam on active inflammatory acne, cystic breakouts, or open wounds. Papaya enzyme-based cleansing and masking steps are fine on mild, non-inflammatory congestion. If you have active breakouts, skip the massage step and the steam, and use the scrub very gently avoiding inflamed areas. Once acne is resolved, regular papaya facials help fade post-acne marks.
Will the papaya facial help with dark spots?
Yes. Papain enzyme accelerates the turnover of pigmented surface cells, revealing fresher, less pigmented skin underneath. Regular papaya facials, particularly the exfoliation and masking steps, gradually reduce the visibility of sun spots, post-acne marks, and uneven pigmentation. For deeper or more stubborn dark spots, pair the papaya facial routine with a daily brightening serum containing vitamin C or kojic acid.
Is the papaya facial kit suitable for sensitive skin?
The Oshea Papaya Facial Kit is formulated for balanced to oily skin types primarily, but sensitive skin can benefit with modifications. Use lighter pressure during the massage step, skip or dilute the scrub, and reduce the face pack application time to ten minutes instead of fifteen. Patch test the kit products on the inner forearm 24 hours before your first full-face application.
Can men use the papaya facial kit?
Absolutely. Facial kits are not gender-specific. Men with oily, congested, or uneven skin tone benefit from papaya facials just as much as women. The exfoliation and anti-blemish steps are particularly relevant for men who shave regularly, as shaving causes micro-inflammation and post-shave hyperpigmentation that papain enzyme helps address.
How long do the results of the papaya facial last?
The immediate glow from a papaya facial typically lasts three to five days, after which the skin begins producing new oil and accumulating minor surface debris. The deeper benefits such as improved texture, reduced dark spots, and more even skin tone accumulate over multiple facials done consistently. For events, perform the facial the day before rather than the day of, as freshly exfoliated skin can be slightly sensitive.
What should I apply to my skin after the papaya facial?
After the papaya facial, apply a lightweight, non-comedogenic moisturiser to seal in hydration, followed by a broad-spectrum SPF 30 if you are going outdoors. Freshly exfoliated skin is more permeable and more susceptible to UV damage for 48 to 72 hours after a facial. Avoid retinoids, acids, or other active treatments for at least 24 hours after the facial to let the skin barrier recover.
Can I use the papaya facial kit during pregnancy?
Papaya enzyme in topical formulations is generally considered safe during pregnancy in the concentrations found in cosmetic products. However, raw, unripe papaya is traditionally avoided in pregnancy as it contains high latex levels that may cause contractions. Formulated facial kits use processed papaya extract and are a different matter. Still, consult your obstetrician before using any new skincare product during pregnancy.


